Thursday, April 1, 2010

Easter Egg Felt Garland Tutorial

Looking for a last minute Easter project? Try my Puffy Easter Egg Garland! Remember the Puffy Heart Garland from Valentine's Day? Well, this is the Easter version! I made this using only supplies I had on hand--I love free projects!
Step one! Make an egg shape pattern and pin it on your felt (I made all pink eggs--do whatever colors you like!) and cut out your egg shapes. I cut two eggs shapes at a time because I wanted to stuff them and sew them together.
Decide how to decorate your eggs! I cut out strips of white felt with my pinking shears. When I did the Valentine garland, I decorated with buttons. Do whatever you want!
Stitch your decorations onto your eggs. I sewed mine by hand because I didn't feel like hauling out my sewing machine. Plus this way I could do it while I watched television. The pin is there to keep the back piece of the egg matched up with the front piece.
Stitch partway around the egg (by hand or machine, doesn't matter!) and stuff the egg with Polyfill or felt scraps or whatever you have on hand. Then sew the egg all the way closed.
I used embroidery floss to stitch everything on these eggs because I have a lot of it and I think it is sturdier than thread.
The final step is to stitch the backs of your eggs onto some grosgrain ribbon. I put the ribbon up on my fireplace and then pinned the eggs in place. Then I took down the pinned garland and handsewed the ribbon onto the eggs before rehanging my garland.
(That's my six year old as a newborn in the hospital--except both my babies looked identical as newborns, so I keep it up there as a reminder of both of them. This was my inspiration picture while nursing my firstborn--we had an extremely rough start to nursing, so I would look at this newborn picture with her face all shiny with mama milk and remember why I was doing what I was doing. We went on to nurse for two years. My second child nursed until he was almost four. I am so happy I toughed out an absolutely miserable start to nursing because it ended up being one of the most rewarding experiences of my life.)

So, there you have it! A last minute free Easter decoration that you can make while watching television. Crafting doesn't get much easier than that!

Magnet Board for under $5

I found a great tutorial on Beneath My Heart for a magnet board. I'm trying to make the wall area above my crafting table look cute...and this is a great start!

The base is a piece of aluminum--I bought mine at Lowes for less than $5--but don't be like me and tell the guy you're looking for tin...because then when he asks what you're doing with it and you say "making a magnet board" he is going to give you a strange look and remind you that tin isn't magnet. And then you just might tell him "well it will be when I'm done with it!" which then just might cause him to ask what strange alchemy (yes, he just might have actually used that word!) you'll be doing to turn it magnetic...at which point you might mutter something about maybe using magnetic paint or something like that while simultaenously beating yourself up for asking for help in the first place.

Anyhow...
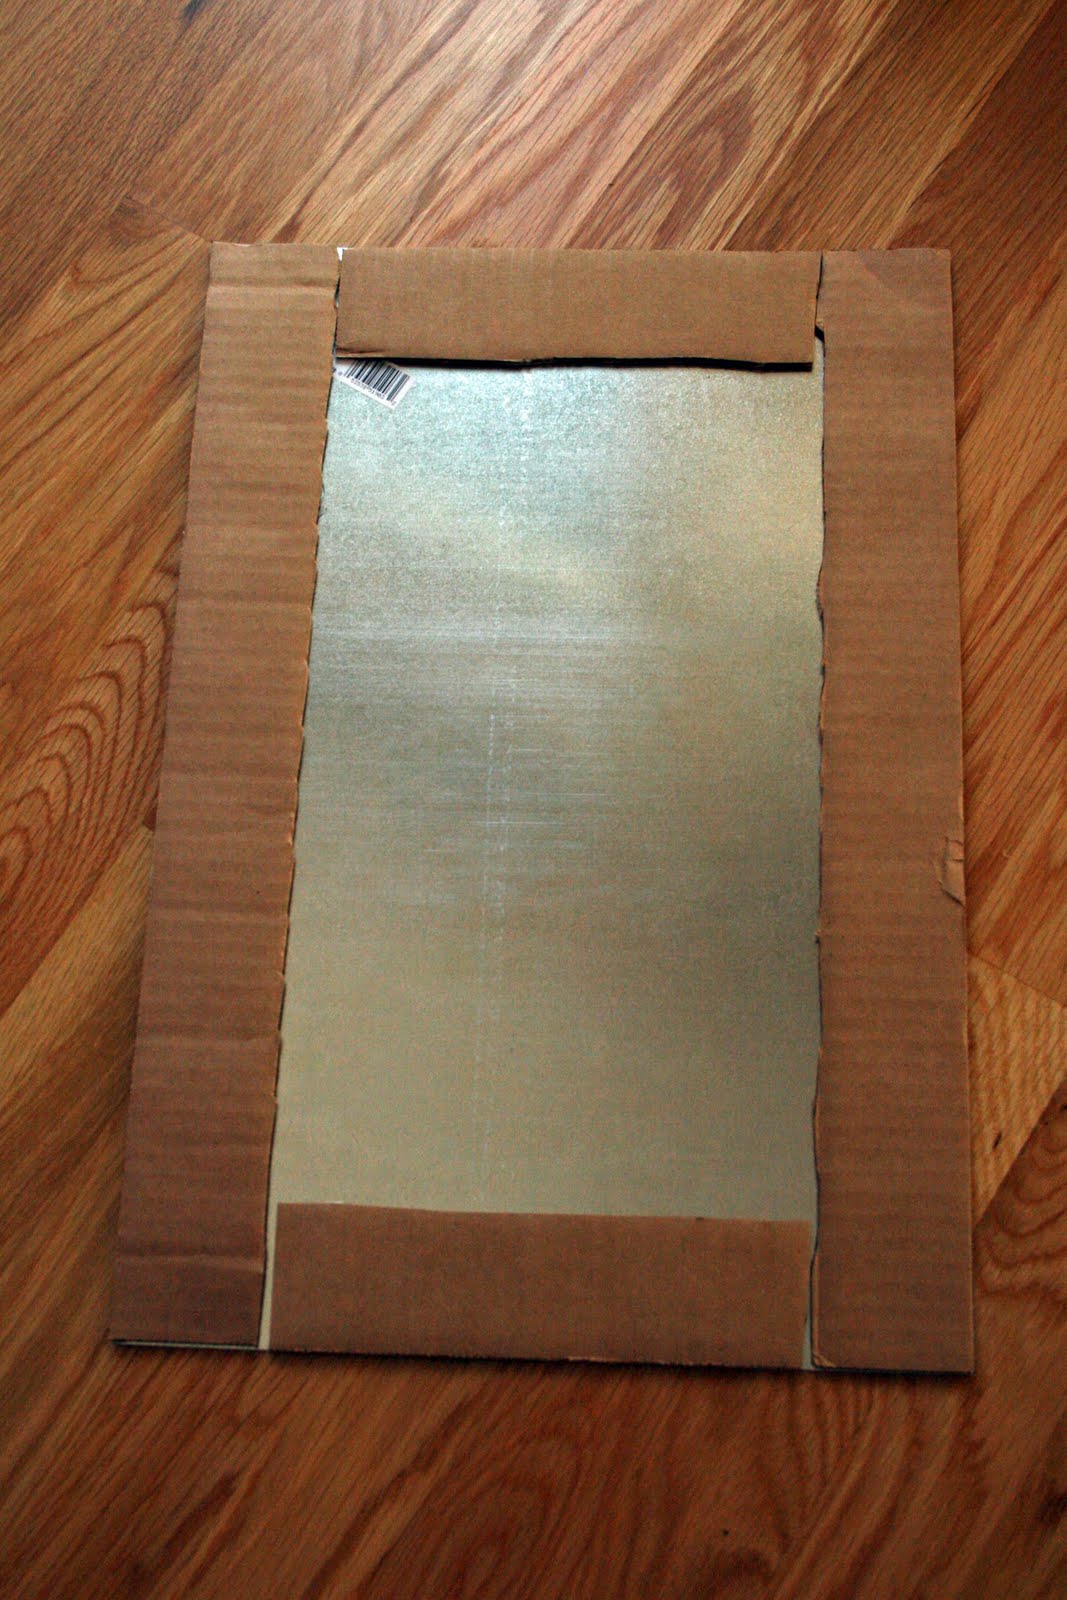
Traci at Beneath My Heart used cork to thicken up her board. I don't have cork, so I just used thick cardboard. I cut strips and hot glued them to the border of the aluminum (not tin!)
I plopped this aluminum/cardboard thing onto the backside of some fabric from my stash and cut out a large rectangle.
Then I hotglued the fabric onto the back of my board.
Next I glued a bow onto the front of the board and a ribbon hanger onto the back of the board. Do you recognize the fabric? Probably not. Anyhow, it used to be the mistreatment over my kitchen window. I've since abandoned those--I just don't have the mistreatment knack. So, I repurpsed the fabric.
I cut an extra piece of fabric and hotglued it onto the back of the board just to pretty things up a bit.
And that's it! I have plans for the magnets I want to make but I haven't made them yet. Not bad for less than $5!

Wednesday, March 31, 2010

Wedding Crinoline into Dress Up Skirt Tutorial

Princess is outgrowing most of her dressup clothes but definitely hasn't outgrown the desire to play dress-up yet. She has always been tall for her age and now, at age 6, is 51.5 inches tall--yes, she's a tall one! She is in kindergarten but looks as though she should be in third grade. The dress up clothes that fit her as a three year old no longer work.
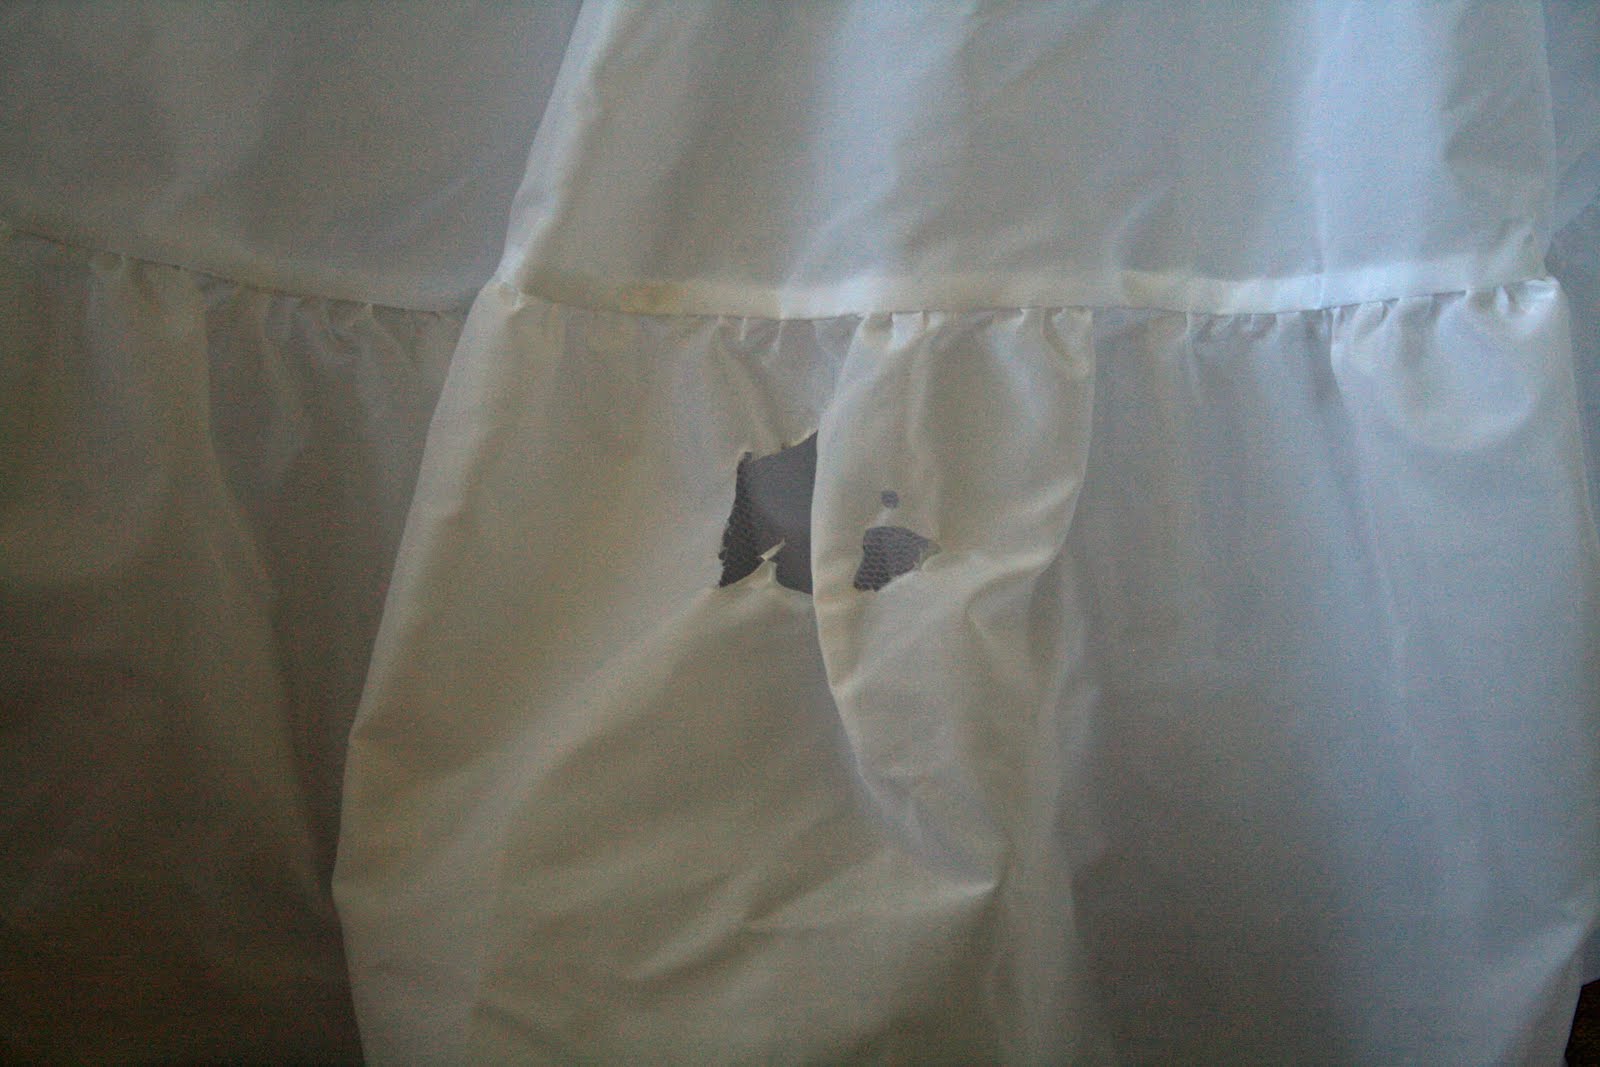
While browsing at a thrift shop, I came across a bridal slip on the rack and thought, with a bit of tweaking, it would be perfect for my little girl. It had a small hole in the bottom tier of the skirt which made me happy because I was able to get the price knocked down even lower--I think I paid about $2 for this slip!
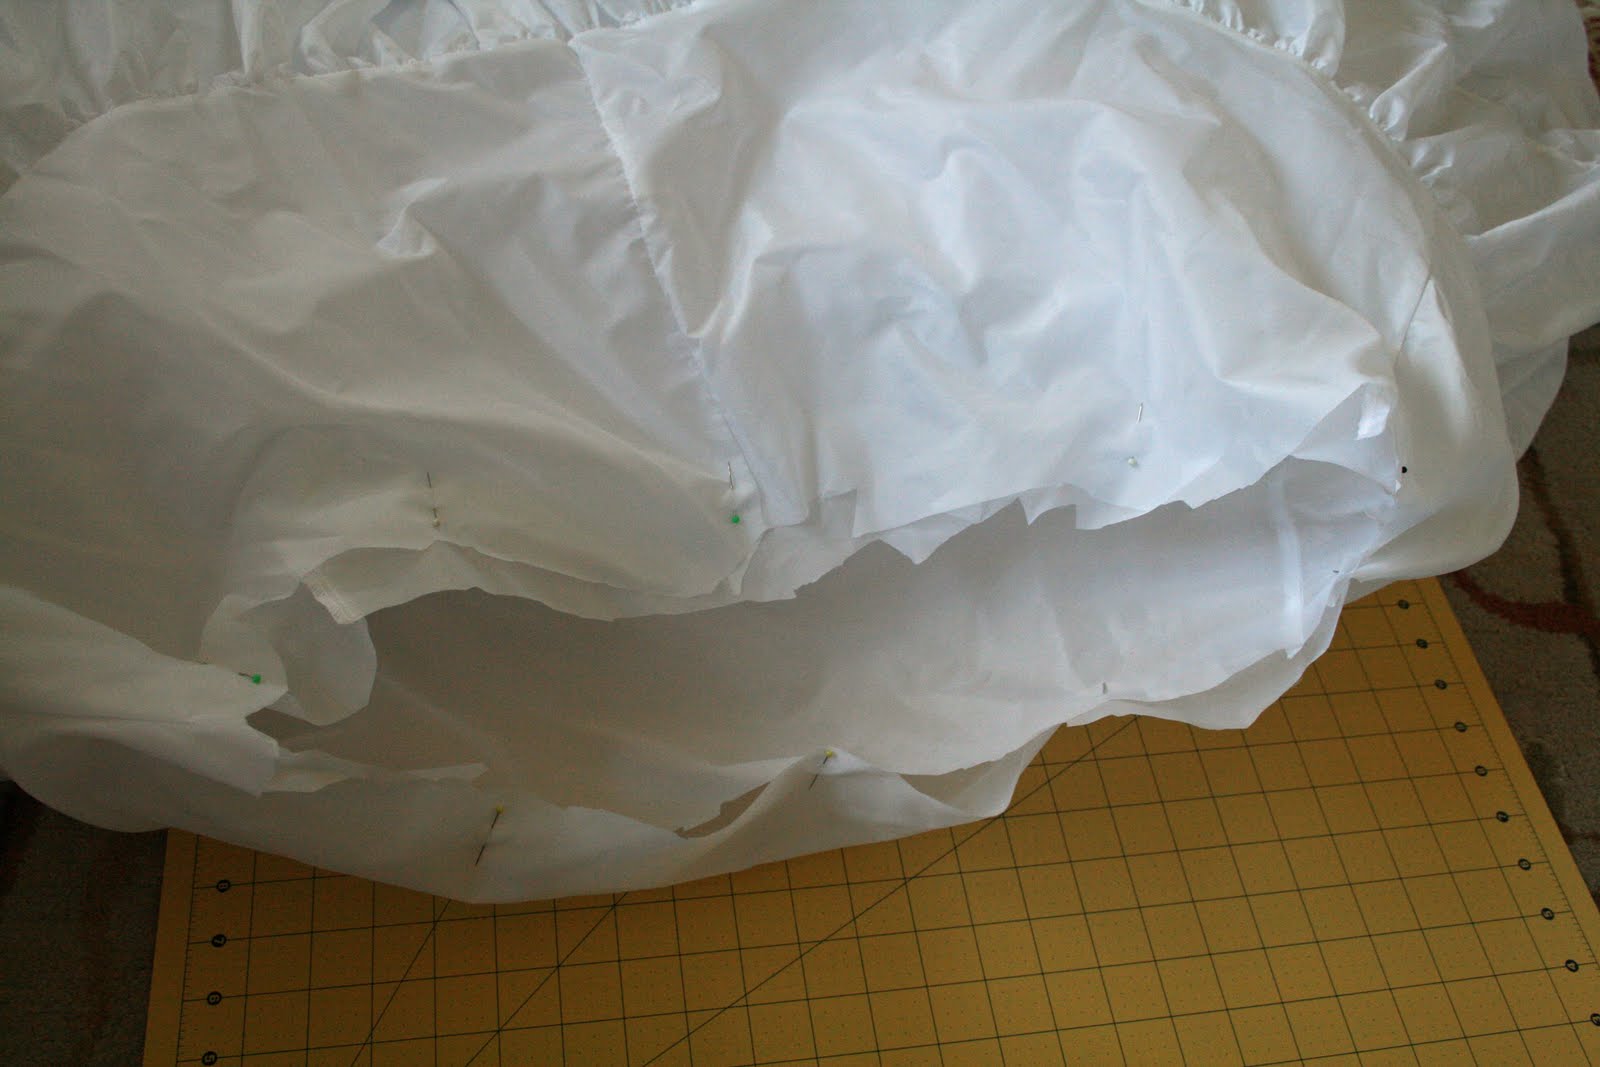
I brought it home and, after washing it in the machine and letting it air dry, I cut off the top of the slip--this slip had an elastic band at the top and a long zipper. I cut it off just below the zipper. I didn't do a very good job cutting it at all!
Nice jagged edge! I told you I didn't do a good job cutting it! My next step was to pin the inside and outside layers together. This stuff was slippery! Then I used my sewing machine to sew a straight line around the edge to keep those layers together. Next it was time to deal with that hole in the bottom tier.
First I cut it out. (Please note that I redeemed my cutting skills on this part...nice straight cuts!)
Then I stitched the opening closed and sewed over the little tab of extra fabric at the top.
No more hole for my children to "accidentally" rip and make bigger...and bigger...and bigger... This extra line of stitching will get lost in all the pouf of the slip.
My final step was to fold over the fabric at the top of the slip and make a spot for the elastic to go in. As I mentioned before, this fabric was slippery and I have no experience sewing or pinning this kind of stuff. I just folded it and sewed a straight line. I left an opening for the elastic and threaded it through (I already knew my daughter's waist measurement from some skirts I made for her) and then sewed my loop of elastic shut and then sewed the opening shut. That was it!
And that was it! One bridal slip turned into an extra twirly dress-up skirt for a very excited little girl!
Yes, she loves it!
(I'm not sure why it looks bunchy in this picture--it looks great in real life!)

Here is when I realized that I have my own bridal slip just.like.this.one. upstairs in the closet taking up space. ARGH. Can you dye these? Maybe I can dye mine pink and make another twirly skirt for dressup? Hmm...

Tuesday, March 30, 2010

Egg Carton Craft

Okay, let's try this post again! I had to delete it on Sunday after somebody posted a link to my site on another site and I started getting slammed with unwanted traffic. Those people did not have good intentions.
Princess and I did this craft from Catholic Icing on Palm Sunday in preparation for Holy Week. She had a wonderful time crafting with mama while her brother napped. We talked about the disciples and she really enjoyed herself. She's bringing it to school on Thursday for kindergarten show-and-tell. Perfect timing for Holy Week!
You'll have to visit Catholic Icing for the full instructions, but I can tell you that the only supplies needed are two egg cartons, printouts from the blog, glue, scissors, and something to color with. Princess did all the coloring and I did the cutting and gluing.

Sunday, March 28, 2010

Featured at No Time for Flashcards

No Time For Flash Cards

I'm so excited to be this week's featured blog at No Time for Flashcards! I love Allie's blog and my children and I love trying her craft projects and ideas.

By the way, if any of you caught the Catholic crafting post that I put up a couple of hours ago and then deleted, I apologize for the inconvenience. I hope to post it again in a day or two. Unfortunately in the less than two hours it was up, it attracted some unwanted attention on a different blog, including a hurtful comment about my little girl. I couldn't figure out how to block that website, so I took the post down.

Thursday, March 25, 2010

My New Lisa Leonard Necklace!

I am now the proud owner of a Lisa Leonard Designs necklace. It is gorgeous beyond all belief and I'm thrilled to bits to have it! I was fortunate enough to win it in a giveaway sponsored by Beth at The Stories of A to Z. The absolute BEST part though, is that I chose my favorite Lisa Leonard design--one that I have wanted since it first appeared on her site. One that I asked my husband for...and didn't receive. (Ahem, husband, order NOW for Mother's Day--I really like THIS necklace and would like all of our names with yours first, mine last, and theirs in between. Let me know if I can be of more help. Mmmkay?)

Anyhow, now that I have that out of the way, look at how beautifully the necklace was packaged! All that crinkly paper cushioned the box in the envelope and the box came ready for gift giving!
Ahhh. G.O.R.G.E.O.U.S.
LOVE IT.

It is even more beautiful than it looks in the picture. I really really REALLY love it. You know, just in case you couldn't tell. Now there are roughly ten kazillion more Lisa Leonard pieces I would love to have.

I want to do family pictures this summer and I've already decided that this necklace MUST be included in the pictures. Nothing like selecting your jewelry before you figure out the clothing.

I was too shy to ask Lisa if she would sponsor a giveaway on my blog. Sorry about that. I can tell you, however, this necklace is gorgeous and you want one. You really really want one. And I want another one. (Ahem, husband...)

Wednesday, March 24, 2010

Projects in Progress

Whoah, Nellie! I am in the midst of, dare I say, TOO MANY PROJECTS! What kind of crafter are you? Do you do one project before the next, or do you have ten bajillion of them going at the same time. It is feeling a bit chaotic around here--but I'm proud of myself, I went to JoAnn's AND Michael's today to return things and all I bought was one dowel at JoAnn's. I didn't allow myself to browse at all because I don't need any temptation to start new projects right now!

Here are pictures of some of my works in progress. (I say "some" because from where I'm sitting in the family room I can see two more...and I know that isn't all!)
This project is SO close to being done...I just need to find the right photographs and hang it up. Except I might repaint it (again) first. Hmmm.
This project actually is done and hanging on the wall, but I have so many unfinished things piled in front of it that I can't take a picture. Or at least not a picture that will actually show you THIS project and not all my other unfinished stuff.
This one is done too--but in the same vicinity as the one above and thus also partially obscured by STUFF.
This one is so close to being done. So close. But my little guy has been having fun playing with the pieces, so I've procrastinated finishing it up.
This is the BEFORE picture of this unfinished project. I've been at a standstill on this one for six weeks (after first stripping off all those hideous flowers and leaves) because I'm not fortunate enough to have a Hobby Lobby anywhere nearby and thus can't find faux boxwood. Woe is me.
This one I'm actually done with...but have yet to edit the pictures (as evidenced by the really dim picture posted here!)
Haven't started this project. I do, however, have a sanding block, folded dropcloth, and can of spray paint sitting on my kitchen floor waiting for me to start...does that count?
This is a BIG project involving our whole family. Let's just say Handsome is VERY excited about this one!
And then of course there are these projects--my most important projects of all. Having the opportunity to help shape and form them is amazing and one that I am so blessed to have. I love these children so incredibly much.

Tuesday, March 23, 2010

Sewing with Children

I've been doing a lot of hand sewing lately and Princess has been eyeing my needle and thread rather longingly. I finally got myself together and got her some sewing supplies. I bought all of these supplies at JoAnn's. I don't have yarn, thus my purchase of these little spools--they were right next to the plastic canvases and were $1 each, except for the ones that were clearanced.

HOWEVER, don't be fooled (like me!) and buy the children's needles that also are stocked right next to the canvases because they don't actually fit through the holes on the plastic! So frustrating! Luckily I had a fairly blunt regular needle (a tapestry needle--not that I've ever sewed a tapestry) in my supplies that she was able to use.
Be sure to check the thrift stores, too! My St. Vincent de Paul had this bag of square canvases for less than a dollar! They had a bunch of other ones, too.
She was thrilled and got the hang of it right away. I threaded the needle (because the yarn really was too big for the eye of the needles I have) and tied a knot on the end of the yarn, and that was it!
She was so excited to be "sewing like Mama!!"
I had to kick her out of the house and make her go play outside--she wanted to stay inside and sew her little heart out!
The proud little seamstress with her first sewing project. I'm keeping it forever! She now is hard at work on a creation of her own design--alternating pink and purple rows on a square canvas.

Linked to Mom Tried It

Monday, March 22, 2010

Easter Egg Wreath Tutorial

My children love plastic Easter eggs, so even though I would prefer a classy grapevine wreath with some nice speckled faux robin eggs and maybe some burlap ribbon...I wanted them to be excited about this, so I went for the cheap plastic Easter eggs. Read on to see how to make this inexpensive and easy wreath!
I bought this foam wreath at St. Vincent de Paul for 45 cents--woohoo!
Then I covered it with ribbon from my stash...only to realize I didn't have enough of this yellow ribbon. I thought about covering the rest of it with orange ribbon, then I decided just to skip the ribbon altogether--so I removed all of this and left my wreath bare.
Next I gathered my eggs from Dollar Tree (I later went back and grabbed a fourth bag) and my glue gun and started gluing.
I just smooshed them as close together as I could. Make sure the eggs don't pop open! I didn't put any on the backside of my wreath, but I did do the inner and outer edges. I used 3.5 packages of eggs, but that amount would vary based on the size of your foam wreath.
I took some wired yellow ribbon from my stash and tied in around the bottom of the wreath and then tied a bow. I hot glued the loops of the bow down...and that was it.
It looks so cute on my front door (I looped ribbon around the wreath and nailed the ribbon into the top edge of my front door--the flat part on the very top, not the front of the door) and my children are thrilled with it. They told me it makes them get excited for Easter egg hunts!

Not bad for less than $5! Have you made a similar wreath? I'd love to see it! I know one of my Facebook friends made a really similar one--hers has tulle on it instead of grograin ribbon though. I love seeing how we can all use similar supplies and yet make projects our own!

I'm linking up to DIY Day at ASPTL.